Saturday, 27 November 2010

My 1st tutorial!

Eeek here we go my first proper tutorial, been putting off writing one of these for so long coz I just didn't want someone to say 'oh well that just makes no sense at all?!?'. After browsing my way throught the anthropologie website last night I found so many things I wanted and like so many of you i thought I won't pay that much when I can make it for miles cheaper myself!

So here's what Anthro's version of the Bauble Bow necklace looks like...


Well there was no way I'd pay the £34 price tag when I had everything it's made from sitting next to me in my crafty bookcase. So i took to attacking my stash immediately...

Here's what you need:


  • 42 x 6mm glass pearl beads
  • 1 large decorative spacer bead
  • 2 medium decorative spacer beads
  • 2 decorative flat spacers
  • 4 small plain spacer beads
  • A silver/gold necklace chain
  • 2 headpins
  • 2 large jumprings
  • 2ft wire
  • wire cutters and good ol' needle pliers

Lets get started....

  1. Thread the medium spacers onto a headpin each, cut then form a loop.

2.Take the length of wire and form a loop at one end and connect it to the loop for the medium spacer.

3. Thread a flat spacer followed by 9 pearls onto the wire.

4. Then add a plain spacer, the large spacer and another plain spacer, this is the tail for one side of the bow done :)

5.Thread 14 pearls onto the wire and then add a small spacer.

6. Gently feed the wire through the hole of the large spacer bead to form on loop of the bow.

7. Now add a small spacer, 14 more pearls and another small spacer.

8. Feed the wire through the large spacer again and repeat step 7.

Now for the tricky bit, don't tug too hard or your wire will break like mine did 3 times...

9. Feed the wire back through the large spacer bead to complete the bow loop (you may at this point realise like i did that you need to widen the hole in the spacer and have to take the whole thing apart again d'oh!)


10. Thread the last 9 pearls onto the wire and add a flat spacer, gently pull the wire to tighten it, then for a closing loop and attach the other medium spacer on headpin. now you have a finished bow hooray!

11. Count in 5 pearls from the centre of the bow loop and attach a large jumpring for each side of the bow.

12. Attach the necklace chain to the jumpring and voila one finsihed bauble bow necklace for a fraction of the price!

Happy days! :)

Here's my finished version that cost me nothing as I recycled old broken bits of jewellery and used some leftovers from other projects...


I'm linking this lovely to:

Friday, 19 November 2010

Skirt handbag


Been playing with the idea of making myself an unusual bag for a while and even with a broken sewing machine I still managed to make one that holds all my gear courtesy of my hand sewing :)
I used:
  • A kids skirt that I got in primark for 50p in the sale months ago
  • An old white tie to form the bag handles
  • 4 chunky pink buttons
  • Black zipper

Not an easy thing to handsew, or at least not with my limited/poor skills lol, but after many hours and stabbing my fingers to sew the buttons on (yes i forgot to add them till after i'd already sewn the handles on, they were a bit of an afterthought) I finally had a cute little skirt handbag of my own :)

I'm linking this to...

Fireflies & jellybeans - show your stuff

The shabby nest - frugal friday

A glimpse inside - catch a glimpse

a little lovely - saturday soiree

tatertots & jello - weekend wrapup party

finding fabulous - frugalicious friday

my repurposed life - catch as catch can

be different.. act normal - show and tell

blue cricket design - show and tell

Friday, 12 November 2010

Heart Shadowbox


Really am running out my stash of ikea goodies now, good thing we are going again on monday for some furniture for the new house..think a few future project bits might make their way into the trolley too lol...
So this is glass pebble heart shadowbox I've made, no idea where it's going to hang yet but I love it!
I've used:
  • 1 ikea plain wood shadowbox
  • dulux muddy puddle paint
  • wallpaper scrap (thanks to homebase lol)
  • chocolate glass pebbles
  • hot glue gun
  • scrap of paper

To make it I:

  • Painted the shadowbox inside and out with muddly puddle paint (can anyone else my mums obsession with this colour rubbing off on me yet?)
  • Glue the wallpaper to the shadowbox backing piece
  • Draw out a heart shaped template to draw round on the wallpaper when it's dried to the backing piece.
  • Lay out the pebbles to find the best layout to fit in the heart template.
  • Carefully take one pebble out at a time and glue it down till all the pebbles are stuck on.
  • Even more carefully try and fit the backing piece back into the shadowbox.
  • Hang it somehwere and look lovingly at it :)

I'm linking this to...

The shabby Nest - Frugal Friday

Fireflies & jellybeans- show off your stuff

A glimpse inside - catch a glimpse

Tatertots & jello - weekend wrapup party

Sunday, 7 November 2010

Butterfly canvas

Less than a week till the big move and here's another piece of new artwork to go on display somewhere in the cottage. I got some new toys on my last trip to hobbycraft and this canvas let me use a few of them :) Not sure where the whole butterfly obsession has come from recently, but now I'm punching them out of every scrap of paper I can find.
So I've used:
  • Small box canvas
  • Tonic studios butterfly punch
  • Flower stencil (made from an old birthday card)
  • 2 x pink inks
  • silver ink
  • mod podge
  • variety of black, pink, white, grey scrapbook paper
  • clear patterned vellum
  • superstrength paper glue

I started by punching out 40 butterflies from my pile of paper and vellum scraps ( got a little carried away actually and punched dozens more out of every colour pretty paper scrap I came across lol). Then I turned to my canvas and used the stencil to ink out the flower background, I'd laid the butteflies on the plain canvas earlier and it looked bland then i found the old card for the flower stencil. After letting the ink dry i applied a coat of mod podge as the silver ink has a habit of smudging and rubbing off on things, then i had to wait overnight before i could add my butterflies.

I'm quite chuffed with the result

, now i just need to decide which room to hang it in when we get ourselves all moved and sorted :)

I'm linking this project to:

A Glimpse Inside - Catch a glimpse

The Shabby Nest - Frugal friday

A Little Lovely - Saturday Soiree

Taterots & Jello - Weekend Wrapup

Bobbypin's Boardwalk - Bragfest

Sunday, 31 October 2010

Book Page Topiary

Here begins the bundle of new decorations made for our new house.. less than 2 weeks till the move, lovely cottage here we come.. I thought it needed a few little homemade goodies to make it more homely.. So i made a topiary where the flowers are made from old book pages, there's so many pages left going spare so I feel a few more projects coming on..

I've used:
  • gunmetal grey drawing pins
  • charity shop book
  • 2 flower arranging foam balls
  • 1/8" wooden dowel
  • small terracotta pot
  • ivory ribbon
  • half styrofoam ball
  • brown glass pebbles
  • rock salt paint
  • chcolate paint
  • hot glue gun
  • shingle
To make the flowers I drew spirals on book pages (making sure all the pages I used had text on so they matched), then I used paperglue to twist the pages to form a flower shape. The scrappy egdes on the flowers created a fab distressed look and helped with making the pages look more vintage.
I pierced the foam balls onto the dowel, glued the balls to the dowel and then painted the dowel chocolate brown. After painting the pot, I filled it with shingle to balance the weight of the topiary, and glued half a styrofoam ball over the top of the shingle to the sides of the pot. When the dowel was dried I put it through the styrofoam and glued it into place.
To secure the flowers to the foam balls I used the hot glue gun and drawing pins. I tried just using drawing pins but they just didn't hold the weight, so they became just aesthetic and the glue did all the work. After many hours of cutting and sticking flowers, not to mention burning my fingers with the glue gun many times, I made it to the fininshing touch.. the ivory ribbon bow tied around the dowel... Now I just hope it looks lovely in the new house to make it worth all the work!

I've linked this project to:

The Shabby Nest- frugal friday

Tatertots & Jello- weekend wrapup party

A Little Lovely- saturday soiree

Wednesday, 27 October 2010

Pearl cluster drop earrings

These are a pair of earrings I made for Mum's birthday, ok so that was in may, but I'm still playing catch up getting all my older projects blogged. Based on yet another description of a cross of something mum saw in a shop and her twist as to how she would want them to look.
So I've used:
  • 2 silver earring hooks
  • 2 strings of silver chain
  • Too many 6mm pearls to count
  • Too many headpins to count lol

Surprisingly these are a lot lighter than they look, and they went down very well with mum, along with her purple felt dahlia flower brooch.

Friday, 22 October 2010

Bird In The Hand

I'm loving all the bird theme jewellery in the shops at the moment, though I don't like how the majority are all gold in colour, not my thing. Finally I managed to get some findings in Hobbycraft with their new season's goodies to make my own necklace that isn't gold!
I've used:
  • Lost & Found: Birds on branch pendant
  • Lost & Found: Leaves links
  • Silver chain (recycled from a broken necklace)
  • Silver clasp (recycled from a broken necklace)

I've lived in this since I made, it just goes with everything i wear! Though i am wondering if I should add some kind of gem into the nest at some time in the future?

I've linked this post up to The Shabby nest- Frugal Friday.. go have a look at all the other fab posts!

Wednesday, 20 October 2010

Felt flower brooches

Found a blog a little while ago where I stumbled upon this tutorial for a felt flower Dahlia corsage brooch.. Not Martha.. so I gave it a go coz my vintage black jacket needed a little something to give it some life.. and then of course there was a purple one made for mum to put on her jackets or handbag lol.

I've used:
  • 2 sheets of felt (red wine and glittery electric purple)
  • 2 brooch pins
  • 2 circles of strong card as backing for the brooches
  • Hot glue gun
  • A lot of patience to cut all the little petals out lol

Tuesday, 19 October 2010

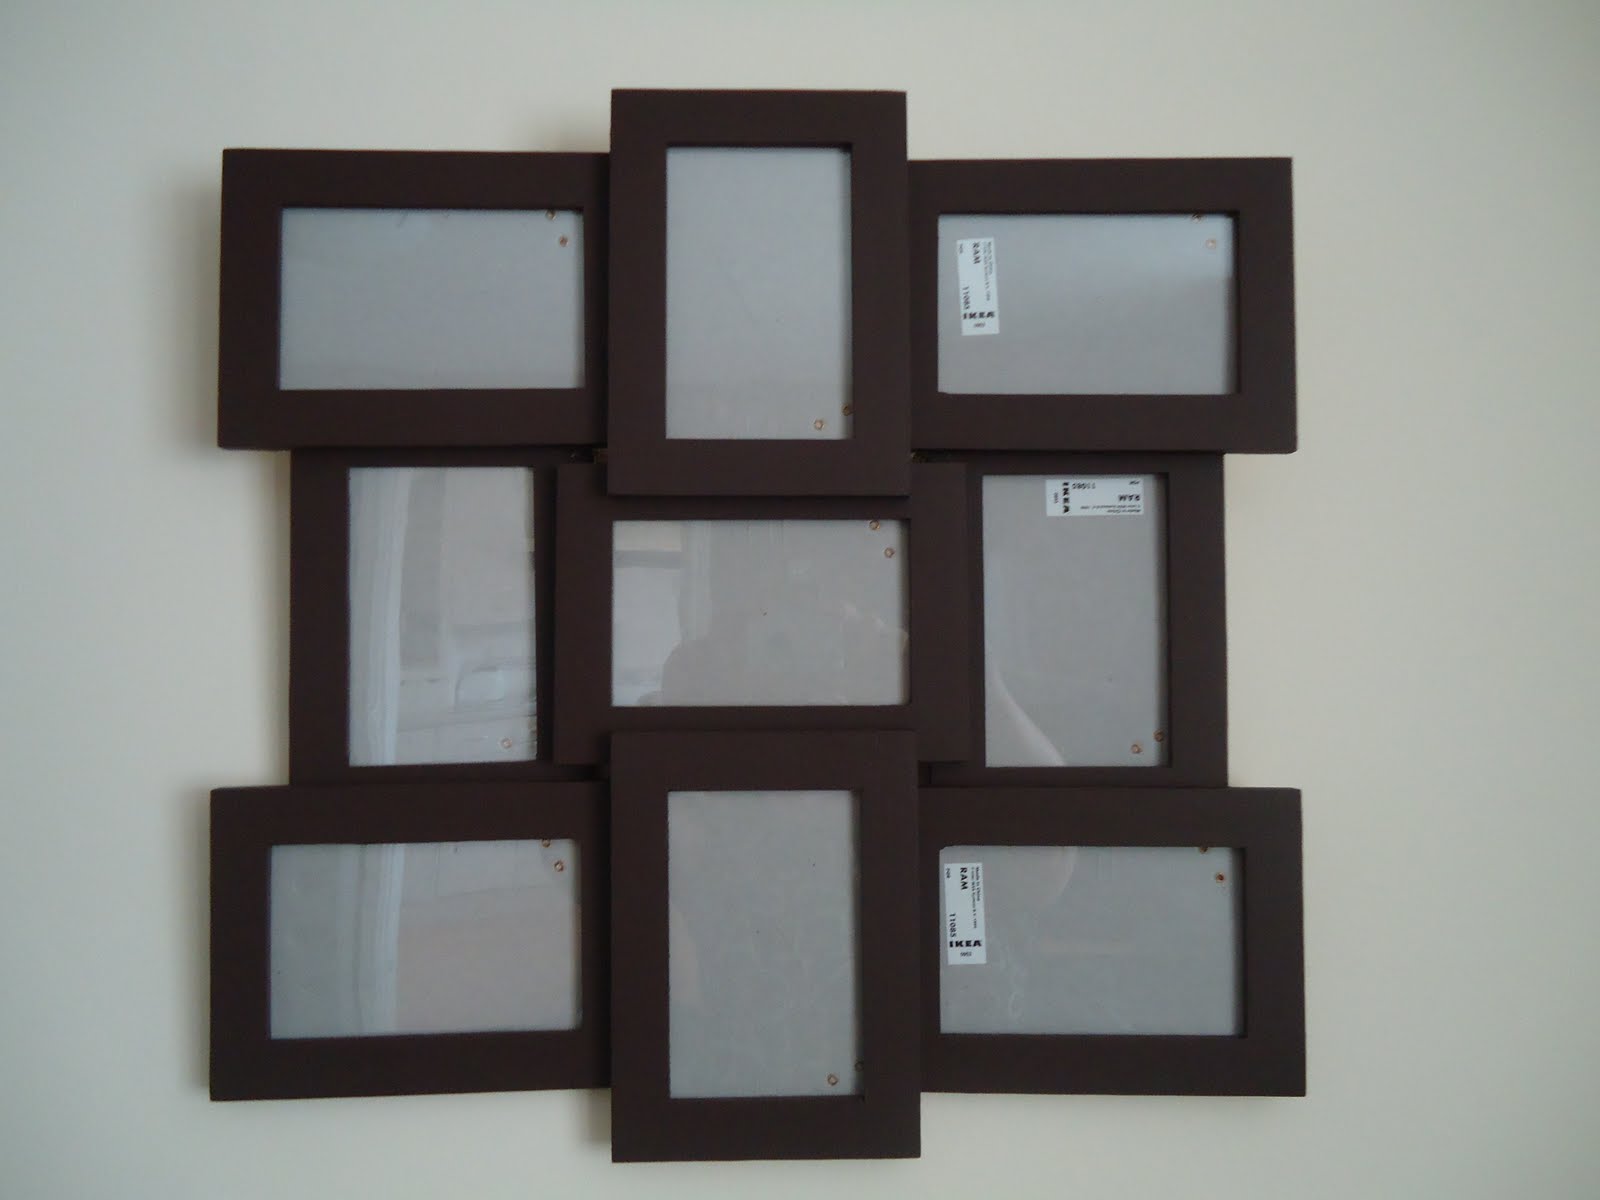
Collage frames


So here we go with another shop inspired idea recreated using more of those fab little 4x6 ikea frames! No way was I going to pay the shop prices so out came the stash of bits at home once more.
I've used:
  • Dulux chocloate wood paint
  • 9 ikea plain wood frames
  • Super strength evostick glue
  • Twine for the (hanging)

Now it's hanging in our lounge full of photos from our trip to egypt, with a mix of colour and black/white prints, will look even better when it's hanging in our little cottage next month :)

Saturday, 16 October 2010

Starburst mirror


So by now everyone's seen these plastered all over the internet and in the shops.. and I thought our lounge needed something funky on the wall so I made us one :)
I've used:
  • Thick cardboard (for the backing to secure the skewers to the mirror)
  • Barbecue skewers
  • Selection of sized mirrors
  • Silver spraypaint (left over from my car)
  • Twine
  • Hot gluegun