Well today is the start of something new for me.. I'm having my first ever blog swap.. with none other than the lovely Kassi From Truly Lovely.. enough of me nattering I'll hand you over to Kassi....
I am SO excited to be blog swapping with the lovely Steph here today!!
If you're having Steph withdrawals (as I'm sure you are...)
You can visit her over on my blog, Truly Lovely,
today where she is guest posting as well!
I am SO excited to be blog swapping with the lovely Steph here today!!
If you're having Steph withdrawals (as I'm sure you are...)
You can visit her over on my blog, Truly Lovely,
today where she is guest posting as well!
We are just over TWO WEEKS from our June wedding!!!
Right now much of my life and my blogs are consumed with wedding planning.... Trying to wrap up all the last minute details of course!
Right now much of my life and my blogs are consumed with wedding planning.... Trying to wrap up all the last minute details of course!
If you'd like to follow my wedding planning in more detail,
I have a 'just for the wedding' blog over here. :)
A wedding craft that I did just for me, just for fun, was my Bride Bag!
Every bride needs a handy little bag to carry around the wedding planning essentials!
So...
I am so excited to be able to share my Bride Bag tutorial with you today!
The same concepts can be applied to make a Momma Bag, Shopping Bag, or work tote!
The same concepts can be applied to make a Momma Bag, Shopping Bag, or work tote!
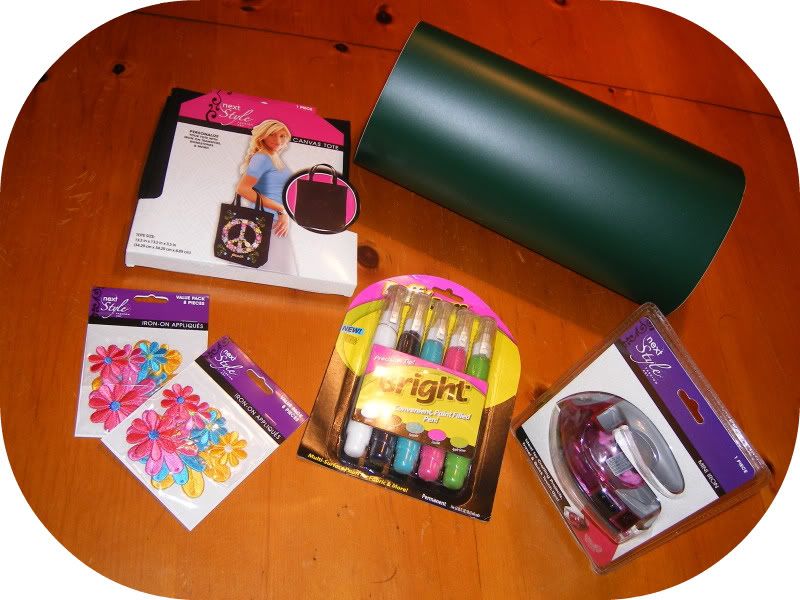
Materials Needed:
- Plain Tote
- Sticky backed Vinyl or other stencil
- Fabric Paint
- Iron on embellishments (I used my wedding flowers, daisies)
- Cute little craft iron... Or a regular iron will do ;)
(All these materials were Christmas gifts from my sweet sister, so thanks Miss Kayli for gifting me some awesome craft supplies!!)
First, I used my new Silhouette SD (Christmas gift from the hubs-to-be) to cut out the lettering, "Kassi's Bride Bag June 2011".
Next, I pulled the cutout lettering away from the vinyl sheet.
This became the stencil.
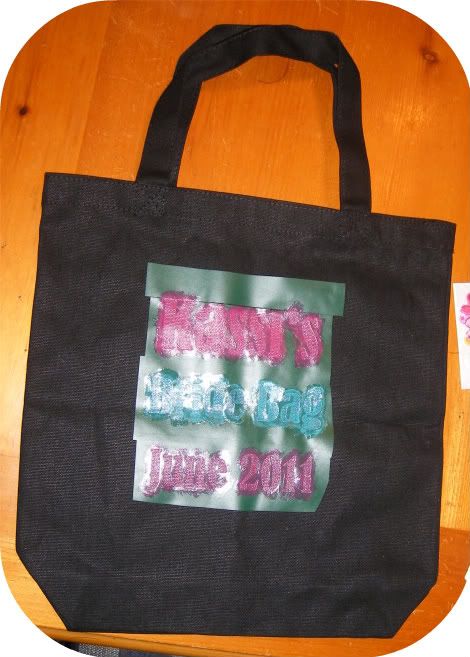
Then I peeled the backing off of the vinyl and stuck it to the tote.
*Tip - Sticky backed vinyl is great because once the backing is removed you can stick it onto pretty much anything and it'll last long enough to work as a stencil.
The only fabric paint I had at the time was puff paint... but that wasn't the look I was wanting for my bag... So I improvised...
I just used a small paint brush to brush the puff paint onto the stencil... I used pink and turquoise paint, my wedding colors of course!
It took a few coats of the puff paint to get it dark enough on the black tote to pop, but once I got those coats on, I just left it to dry overnight.
The next morning I simply peeled the vinyl stencil from the tote and walla, insta-tote wording!! :)
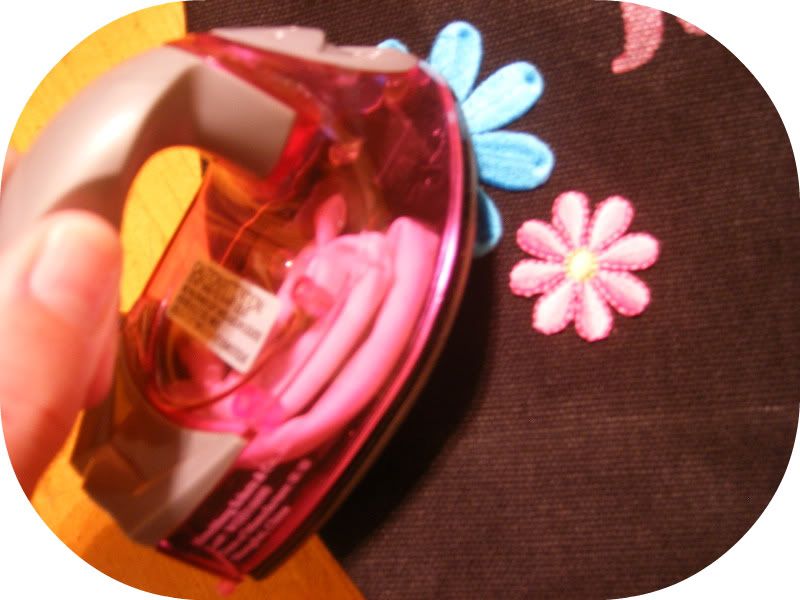
To spice it up a bit, I ironed on a few daisies (my wedding flower of choice) using my nifty little craft iron! (Again, thanks Kayli!)
The next, and final step is to fill your new Bride Bag with all the wedding planning essentials!!
In went my wedding planning notebook, wedding ring brochures, hand written guest list draft, and our engagement pictures CD.
I literally carry this bag with me everywhere I go!!
At less than two weeks til the wedding, it's so nice to have everything I need right on hand in my handy little Bride Bag!
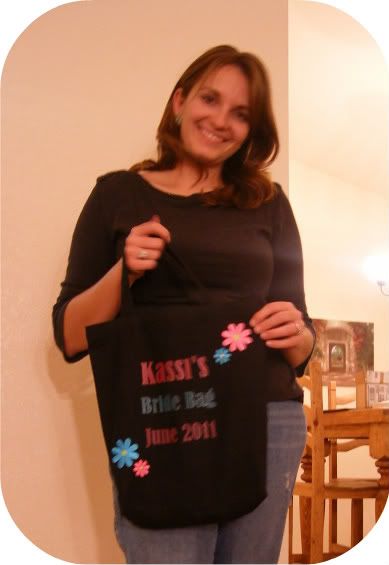
This picture was taken by my Maid of Honor, Miss Kayli of course, after a LONG day of trying on wedding dresses!!!
As you can see, it'll wear a girl out! ;)
But the Bride Bag in tow means less stress for the bride-to-be!!!
Thanks again to Miss Steph for having me over!!! :)
Always happy to share with my bloggie besties!!!


2 comments:
Thanks for having me over Steph!!! And for being this week's bloggie bestie on Truly Lovely!!! Watch for some tweets and facebook mentions this week! ;)
thanks for swapping with me :)
Post a Comment