Showing posts with label anthropologie. Show all posts

Wednesday, 12 November 2014

Drawer Update

Earlier this year I bought 4 door knobs from Anthropologie during a shopping trip to London with a friend. I planned to put them on the drawers in my study when I had finished painting it...well months after the painting was finished there were still no blue door knobs on the drawers.

Finally on a day off I decided to have a clear out in the study and found the door knobs hidden away, so they had to be fitted there and then!
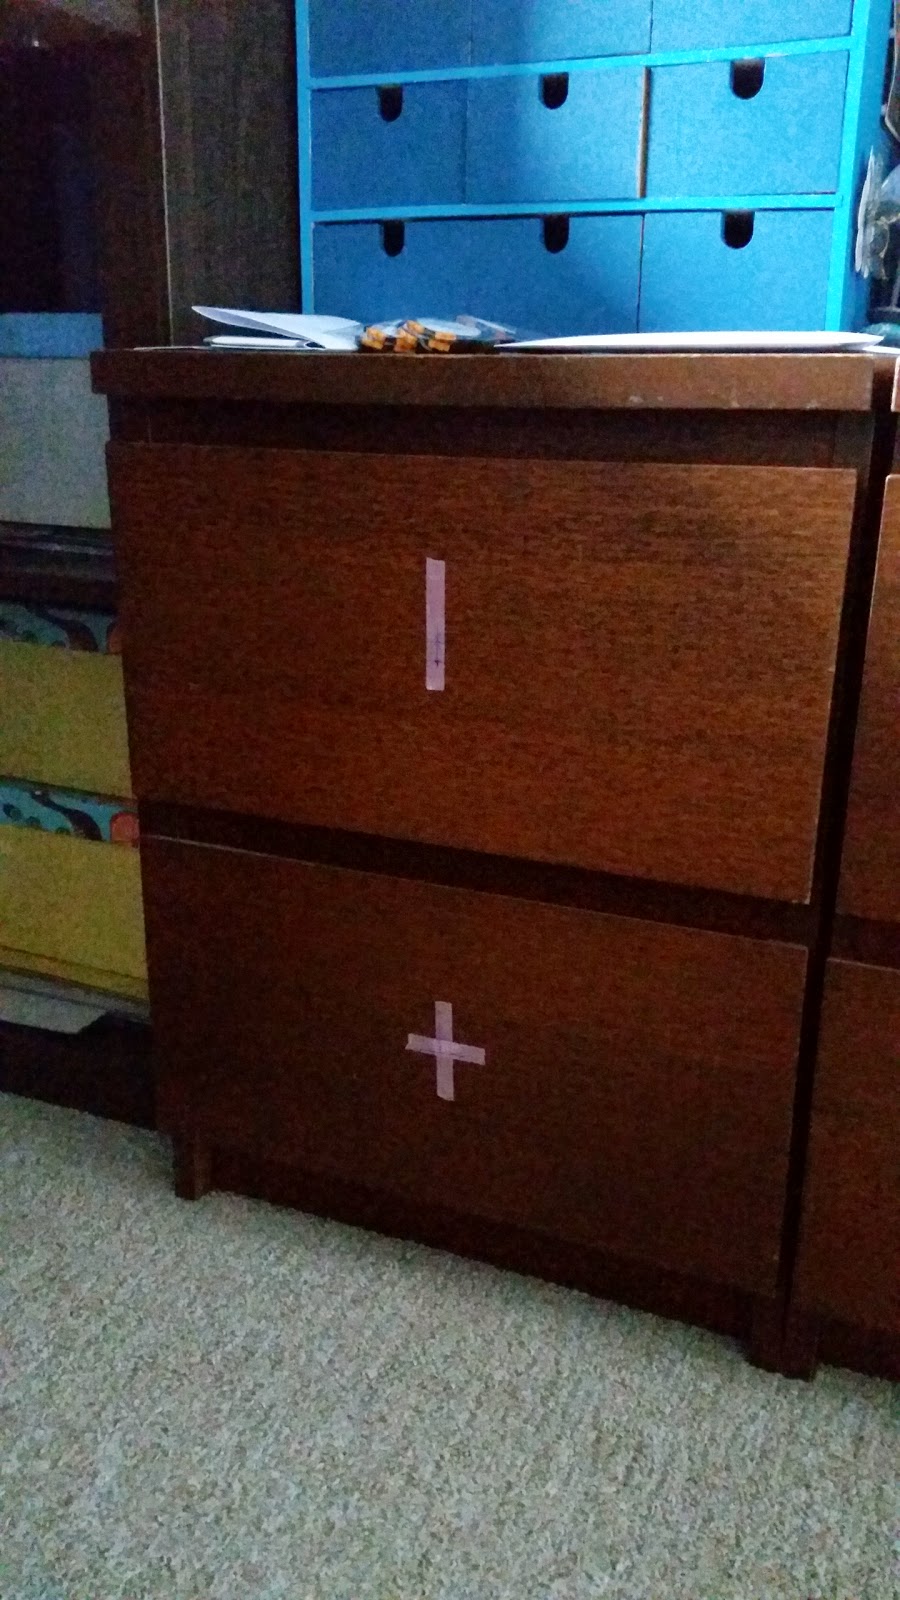
I did it properly, I measured everything out and used tape to draw my centre point on for drilling the hole on each drawer.
A bit of fiddly around trimming the length of the bolt on the door knob and a lot of sawdust later the door knobs were fitted to now become drawer knobs.
I chose 2 different knobs so they could be alternated over the drawers. I must admit the white patterned one is definitely my favourite.
Thanks Anthropologie for giving my boring craft stash drawers a new lease of life in my newly decorated study. Now what should I get around to customising/upcycling next?

Photobucket

Saturday, 9 July 2011

Featured Over At Aunt Pegs

Wow I never thought 6 months after I posted anything on this blog that people would still be talking about it... but I'm wrong (for a change lol)! This morning I woke up to an email from Amber over at Aunt Peg's Handmade Jewelry and Treasures saying that today they were featuring me and one of my tutorials... can anyone guess which it is?

Yes it's the infamous Anthro Power of 3 knockoff I did back in January, if anybody missed it the tutorial is here.


Never though I'd see my work kicking around people's interest this long, to be honest I'm quite proud of myself for this tutorial it's been featured across quite a few blogs now and is on quite a few people's pinterest boards too.
So thanks to Aunt Peg's for featuring me!

Thursday, 30 June 2011

Anthro Inspired Pearl Headband

This headband has been stored in my Ideas folder (crikey before the days of me being on Pinterest!) for ages, since March when Lindsay posted it on her blog Lee La La. The tutorial for it is here.
I spent ages wanting to make it, but it was worth the wait it's brillian, just need more excuses to wear it now... don't think I'd get away with wearing it to work though :(
So here's my Anthro inspired pearl headband...
And here's a (yet another posey, sorry!) photo of me wearing my
fab new headband... I love it, a tad heavy but beautiful all the same!

Wednesday, 4 May 2011

Featured Over At My Girlish Whims

Ok so I think we can definately call my Anthro One More Time Tank Tutorial a success now... today Rebecca has featured it over at My Girlish Whims!

Tuesday, 3 May 2011

Featured over at I'm Topsy Turvy

Today Ashlee over at I'm Topsy Turvy has featured my Anthro One More Time Tank as well, what a success this lil top is turning out to be!

Monday, 2 May 2011

Featured Over At Dittle Dattle & Simply Cadence

Another windy morning here in the UK, and another 2 comments telling me that my Anthro tank will be featured from last weeks linky party, how exciting?! Guess Anthro knockoffs are still going strong out in blogland, can't wait to get started on my next one!

Carrie from Dittle Dattle featured me as one of her favourites from last week...
..and Jaclyn from Simply Cadence featured me as her favourite from last week too :)


Friday, 22 April 2011

Wearing My One More Time Anthro Knockoff

Forgot to take a photo of me wearing the tank for the tutorial and I had comments asking for it, so here we are :)

The tassles hang beautifully in the curvy shape I wanted, really impressed with how it looks :)

And I've just found out it's been featured on Allison's blog as well today!

Tuesday, 19 April 2011

Anthro One More Time Knockoff Tutorial

Here's the Anthropologie One More Time Tank, no longer available online so I've had to make myself one for considerably less than the asking price!

Here's how mine came out.. the tassle needs a little ironing to get it the right shape but it's otherwise all good

To make one you'll need:
  • 2 matching tank tops (although contrasting colours could also work)
  • sewing machine
  • scissors
  • pins
  • contrasting colour threads
1. Cut the back of the spare top off, this will be the material used to form the bow and tassles.

2. Cut 2 strips of the top 2.5" x 20" these will form the tassles. (I kept mine shorter than the originals as I didn't like how low they hung when you wore the top)

3. Sew the tassles together along one of the long edges with a 1/4" seam allowance and pin roughly down the centre of the top in a curvy shape.

4. Move the pins around till they hold the tassles in the right shape, alternate the sides of material that you pin to create the right shape.

5. Sew the tassles onto the top in small stages till you come to a pin then start a new stitch on the opposite side of the tassle.

6. Trim the end of the tassles to a point

7. Cut a piece from the scrap top 5.5" wide from the bottom of the top to the armpit.

8. Sew the short edges together with a 1/4" seam allowance, this will form the main piece of the bow.
9. Cut a piece 3" x 5.5" and pin the edges down, this will form the centre of the bow.

10. Sew the folded edges down.

11. Lay the piece over the centre of the bow and start to pinch the main section into shape.

12. Fold the centre piece, pull tighly an pin in place.

13. Sew the centre piece of the bow so it stays in place and holds the bow in shape.

14. Pin the bow on to the top roughly into the centre.
15. Pin the top of the tassles flat so they sit under 3/4 of the bow centre.
16. Try the top on to ensure everything is pinned in the right place

17. Sew the bow onto the top, working from the back of the top through the back of the bow.

18. Pop a couple of stitches throught the inner layer of the top of the bow (just to makes sure it's held securely to the top and that it sits right when you put the top on).
Here's the finished top :)
Hang it up, admire it and start wearing it!
On the off chance anyone tries this tutorial can I have some pics, just email them to me, I'd love to see them :)

Thursday, 14 April 2011

Anthro Esplanade Tanktop

So I'm really working on my summer wardrobe now.. even if the British weather is now against me and is cold n wet again... this time I've had a go at making an anthro knockoff esplanade halter top using Jessica's tutorial over at Happy Together


Here's mine:

Not bad for a cheapy Primark tanktop and scrap silky fabric from the inside of an old dress!


Wish I'd have had a working sewing machine when I started this... I cut and hand stitched the reshaping of the top and attaching the main sily section for the strap.. perhaps I need this in a couple of different colours now too....

Linking up to Eisy Morgan

Thursday, 7 April 2011

Anthro Nautical Inspired Top


As promised here's the top I made that goes with the shoes... Yet another Anthro inspired piece to add to my wardrobe.. I've made this using Ali's tutorial over at Ali Foster Patterns as my base idea but made mine with a pleated ruffle instead of her randomly folded ruffle.. don't know why but it just looked better on me when I tried it on pinned before I sewed the ruffle on.

I love it so much.. I'm thinking perhaps a white version may also be necessary now too, especially as the weather has certainly picked up this last week in the UK! Not bad considering it was just a cheap, plain tanktop from Dorothy Perkins a week ago!


And here it is in an outfit with the shoes, just makes me happy looking how great the whole outfit has come together :)

(just excuse the clothes he left on the floor in our walk-in wardrobe lol)

Thursday, 31 March 2011

Anthro Sloan Square Knockoff Shoes

Keeping with my theme of posting the projects I've been doing from my ideas folder... Here's the shoes I made using Rachel's tutorial over at Bubbly Nature Creations. She had me at shoes, but to throw in the word Anthro and a chance to use my sewing machine I had to make them! These beauties have been named 'Sand & Sea shoes' by Rachel but Anthro call them Sloan Square shoes which sounds a bit dull for their price tag really.

Had to make mine a pair of proper heels, as I can't wear those flat ballet pumps or kitten heels as they cause me such pain after a couple hours. Before making these I never knew modpodge was so damn versatile so thanks for teaching me that Rachel!


I'll be posting the necklace and top to wear these lovelies with in the coming week so keep your eyes peeled for that too :)

Tuesday, 29 March 2011

Anthro Potentilla Necklace Knockoff

Here's another Anthro Knockoff that's been sitting in my ideas folder for a while. This time it's the Anthro Potentilla Necklace from Bev @ Flamingo Toes, here's the tutorial. Ok so I know it's from last years Anthro necklace week but I've been a little slow in the process of keeping up with the tutorials.

Just to be a little different I decided to do mine as two tone so it went with more of my wardrobe :)

Monday, 28 March 2011

Anthro Inspired Snipped And Saved Posts

Finally getting round to posting some of my projects I've made from my ideas folder on my laptop... So here's the Anthro Snipped & Saved Posts I made from Beckie's tutorial over at Infarrantly Creative.

Here's my slightly more colourful than the original version...


Love them, just need a chance to wear them now :)

Wednesday, 16 March 2011

Anthro Contrasting Beauty Knockoff Tutorial

Just in case you didn't see this tutorial when I guest posted it over at A Glimpse Inside last week I thought I'd share it here too...
So I know I keep saying I will stop making jewellery but I just couldn't resist having a go at making this anthro beauty.. it's called Contrasting Beauty and for the horrifying price tag it's £268!

This photo shows the anthro version next to my version for comparison... If you want to have a go then you'll need:
  • Pliers
  • Wire cutters
  • Beading wire
  • Silver clasp
  • 8 x 6mm pearlescent beads
  • 85 x 6mm pearls
  • 14 x glass rectangle beads
  • 85 x 4mm black bicone beads
  • 2 silver crimp beads

So now to start making the necklace....

1. Cut 3 lengths of beading wire: 36 inches long, 34 inches long and 27 inches long.

2. Thread the 3 lengths of beading wire through a crimp bead, through the heart clasp loop and back through the crimp bead. 3. Crimp the crimp bead with the pliers.

4. Thread the first black bicone bead onto all three lengths of beading wire, feed the loose ends through the bead to secure them. 5. Keep threading black bicone beads on till there are 50 beads on the threads. 6. Take the 2 longest lengths and thread 5 pearls onto them. 7. Take the longest strand and thread the 8 pearlescent beads onto it. 8. Take the mid length of wire and thread 9 pearls on. 9. Take the mid and long lengths of wire and thread 4 pearls on. 10. Take the long length and thread the 14 rectangle beads on. 11.Take the mid length and thread on 21 pearls.

12. Take the mid and long length and thread on 14 pearls. This is how the necklace should be shaping up by now.... 13. Take the short length and thread on 39 pearls. 14. Take all 3 lengths of wire and thread the remaining 35 black bicone beads. 15. Thread a crimp bead onto the 3 wire lengths, pass through the clasp bar attachment loop.

16. Thread the wire back throught the crimp bead and crimp with pliers. 17. Trim the excess wire down and thread through the closest bead to secure it.

Now the necklace is finished and I hope you love it as much as I do... and it cost me nothing as I had all this stashed away in my craft room :) I used a heart clasp on it just to make it my own rather than a total replica piece